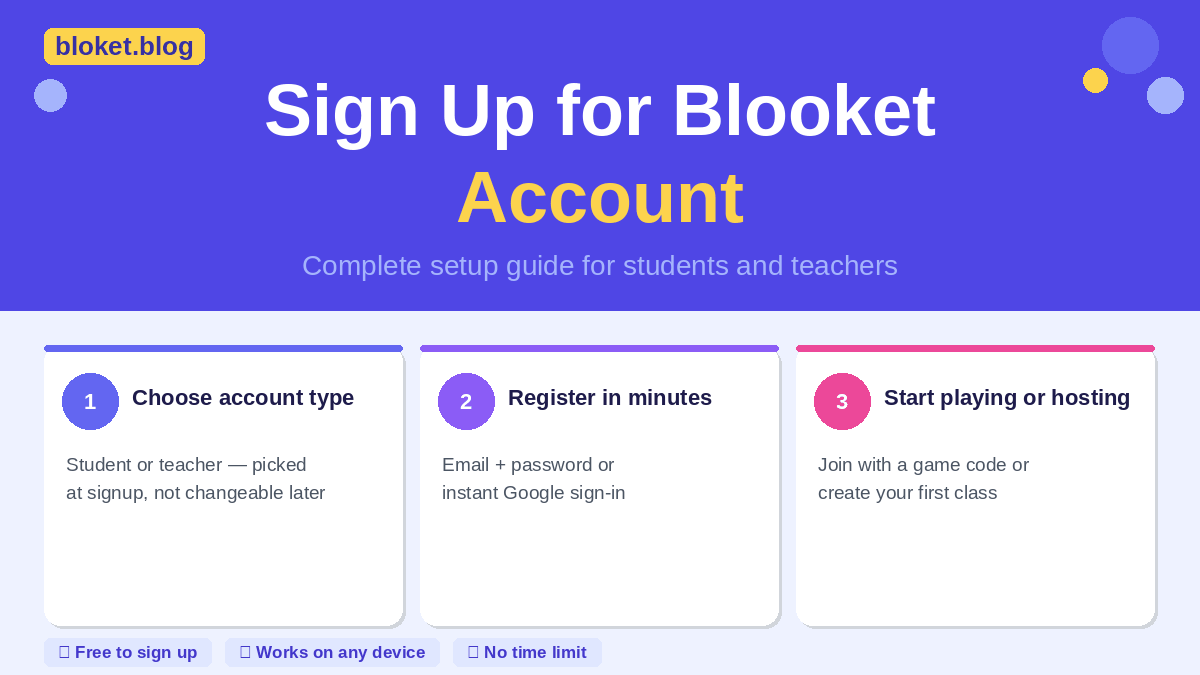
Creating a Blooket account takes under five minutes, but picking the wrong account type, student or teacher, means missing features you actually need from day one. This guide walks through every step of the signup process for both roles, explains what each account can do, covers what to configure once you’re in, and fixes the errors that block most new users before they ever join a game.
What you need before you create a Blooket account
Two things are required before you start: an email address (or a Google account) and a clear sense of which account type matches your role. Getting both right at the start avoids having to create a new account later.
Age requirements explained
Blooket follows COPPA and similar international child privacy laws. Students under 13 face restrictions on creating independent accounts. The standard solution for that age group is a teacher-managed setup, where the teacher creates a class and adds students directly — no independent account creation needed on the student side.
Students aged 13 and older can create their own accounts using a personal or school-issued email address. Google Workspace for Education accounts work perfectly for this and are already signed in on most school Chromebooks.
Student account vs. teacher account: what each one does
Choosing the wrong account type is the most common mistake new Blooket users make. Here is a direct comparison:
| Feature | Student account | Teacher account |
|---|---|---|
| Join live games with a game code | Yes | Yes |
| Host live games | No | Yes |
| Create question sets | No | Yes |
| Assign homework mode | No | Yes |
| View class reports and analytics | No | Yes |
| Create and manage a class roster | No | Yes |
| Earn coins and collect blooks | Yes | Limited |
| Access the Blook store | Yes | Yes |
| Discover and use shared question sets | Yes | Yes |
One thing teachers sometimes ask: can you play as a participant from a teacher account? Yes. You can join and play games from a teacher account. You simply won’t appear in student-facing leaderboards the same way a registered student would.
How to sign up for a Blooket account
Blooket offers two signup methods: email with a password, and Google sign-in. The Google method is faster because it skips the email verification step entirely. Both work equally well for long-term use.
Creating a student account with email
- Open blooket.com in your browser and click Sign Up in the top right corner.
- Select Student when Blooket asks you to choose your account type.
- Enter a username. Usernames are public and visible to other players during games. Only letters, numbers, and underscores are allowed — no spaces or special characters.
- Enter your email address and create a password. Save it in your browser or a password manager so you are not locked out later.
- Check the box to agree to the terms of service.
- Click Sign Up.
- Open your email inbox and click the verification link Blooket sends. This confirms your address is valid and activates full account features.
Once verified, your student dashboard is live. From there you can enter game codes to join live sessions, browse the Blook store, and check your personal stats and coin balance.
Creating a teacher account with email
- Go to blooket.com and click Sign Up in the top right corner.
- Select Teacher when prompted to choose your account type.
- Enter a username. Many teachers use a variation of their name or a school-related handle so students can identify them in game lobbies.
- Enter your email address and create a password.
- Agree to the terms of service and click Sign Up.
- Verify your email address by clicking the link in your inbox.
After verification, your dashboard includes hosting tools, class management, and reporting features that do not exist in a student account. The layout looks noticeably different from the student view.
Using Google to sign up (the faster method)
Signing up with Google skips email verification entirely and typically takes about 30 seconds. Both students and teachers can use this method.
- Go to blooket.com and click Sign Up.
- Select your account type (Student or Teacher).
- Instead of filling in the email and password fields, click Sign in with Google.
- Choose the Google account you want to link to Blooket.
- Allow the permissions Blooket requests.
Your account is active immediately after that final step. For students using school-issued Chromebooks, this is the method I recommend every time. The school Google Workspace account is already signed in on the device, so the whole process takes well under a minute and eliminates any password issues down the road.
Setting up your Blooket profile after signup
The signup itself is only the first step. A few minutes of configuration after signup turns a new account into one that is actually ready to use.
Choosing a username that works
Your username appears during games for all other players to see. For students, picking something recognizable makes it far easier for teachers to match in-game scores to real names in their class reports. A name like “Maya_G” or “JordanK” is instantly useful to a teacher sorting through results. A name like “shadowwolf999” is not wrong, but it adds unnecessary guesswork during grading.
Usernames can be changed later inside account settings, so nothing here is permanent. The character rules stay the same regardless: letters, numbers, and underscores only.
Account settings worth reviewing on day one
Click your username or avatar in the top right corner of any Blooket page to reach your account settings. These three things are worth checking immediately after signup:
Email notifications: Blooket sends game reminders and platform updates by email. If you would rather not receive them, turn this off now rather than later.
Password confirmation: If you signed up with an email address and password, confirm your browser has saved the credentials, or add them to a password manager. Resetting a forgotten password is straightforward but avoidable friction.
Account type check: Verify you selected the right type during signup. Teacher accounts show hosting and class management options on the dashboard. If you see those options, you have a teacher account. If you do not, you have a student account.
First configuration steps for teacher accounts
A teacher account is built for hosting, but it needs a small amount of setup before a first game session is useful. Three things to do before running any games:
Create your first class: Go to the Classes tab in your dashboard and add a new class with a name and grade level. Blooket generates a class join code. Students enter that code to link themselves to your class, which is what makes individual progress reports and homework assignments possible.
Find or build a question set: Blooket’s Discover tab holds thousands of publicly shared question sets across every subject and level. You can use any of them directly without modification. If you need something specific to your curriculum, the My Sets tab lets you build a set from scratch and edit it freely.
Run a private practice game: Before your first live session with students, host a test game on your own. Open any question set, click Host, pick a game mode, and run through it alone. This shows you how the timer, settings, and scoring work without students in the room watching you figure it out.
Common signup problems and how to fix them
A handful of issues block new users more than any others. Each one has a clear fix.
Verification email not arriving
This is the most frequently reported signup issue. Before assuming the email did not send, check these in order:
- Spam or junk folder: Automated signup emails land in spam constantly. Search your inbox for “Blooket” before anything else.
- Wrong email address entered: If you mistyped your address during signup, the verification link went to nobody. Create a new account with the correct address.
- School email filters: Some school systems block emails from external services. Try using a personal Gmail account instead, or contact your school’s IT team and ask them to allow mail from blooket.com.
- Resend option: Log back into Blooket after a few minutes. If your email is unverified, the platform usually shows a prompt to resend the verification link.
Username already taken
With millions of registered users, common names are frequently unavailable. Add a number, a school initial, or an underscore variation to create something unique. “TaylorSmith” might be gone, but “TaylorSmith_12” or “T_Smith_Edu” probably is not.
Account type selector not responding
If clicking Student or Teacher during signup does nothing, the issue is almost always the browser. Refresh the page, clear your browser cache, or switch to Google Chrome if you are using a different browser. Ad blockers and some privacy extensions interfere with the page’s interactive elements and can prevent the selector from working.
Age restriction errors for younger students
Students under 13 who attempt independent account creation may encounter age-verification prompts that prevent completion. The correct path for this age group is for a teacher to create a class and add students to it directly. That setup does not require each student to create their own account, and it keeps data collection minimal.
Understanding Blooket Plus and whether you need it at signup
Blooket has a paid subscription for teachers. A free teacher account still gives full access to hosting games, creating question sets, building classes, and viewing basic reports. The paid tier adds features like more detailed analytics, the ability to copy and duplicate sets, and additional customization tools for hosted games.
For any teacher signing up for the first time, the free account is the logical starting point. The platform’s core tools work without a subscription, and the difference between free and paid only becomes meaningful once you are running games regularly and want to refine your setup. Test the free version through several sessions before deciding if the additional features are worth the cost for your classroom.
Students do not have a paid subscription option. Blooket’s paid features are teacher-facing only.
Joining or hosting your first game after signup
Once your account is active and your profile is set, the only step left is getting into a game.
For students: joining a live game
A teacher gives you a game code, typically a six-digit number. Go to blooket.com and click Join a Game on the homepage, enter the code, confirm your username, and you are in. Your name appears in the teacher’s lobby list the moment you join.
If your teacher has assigned a homework game to your class, that appears in your dashboard under any class you have joined. Those games can be played solo on your own schedule without needing a live code.
For teachers: hosting your first session
- From your dashboard, go to My Sets or Discover and open the question set you want to use.
- Click Host.
- Choose a game mode. Gold Quest is a reliable first choice because the mechanics are simple and students catch on in under a minute.
- Adjust the settings: number of questions, time per question, and whether play is individual or team-based.
- Click Host Now.
- Share the six-digit game code with your students. They enter it at blooket.com.
Once students start joining, their usernames appear in the lobby. When everyone is in, start the game. After it ends, your dashboard shows a full breakdown of scores and per-question accuracy for every player.
For a first session, I would suggest a short set of ten questions or fewer. It moves fast, keeps energy high, and gives you a clean look at how the reporting works without committing an entire class period to a format you have not used before.
FAQs
Is creating a Blooket account free? Yes, signing up for Blooket costs nothing for students and teachers alike. Blooket also offers a paid subscription that adds advanced features for teachers, but the free account gives full access to core gameplay, hosting, and class management.
Can I sign up for Blooket without a Google account? Yes. Blooket accepts any valid email address during the standard signup flow. Google sign-in is the faster option since it skips email verification, but it is not required. Any personal or school email works.
What happens if I chose the wrong account type? Blooket does not offer a direct way to switch account types on an existing account. The simplest fix is to create a new account using the same or a different email address and select the correct type during signup. The process takes under five minutes.
Do students need their own email address to use Blooket? Students aged 13 and older need an email or Google account to sign up independently. Students under 13 can participate in Blooket through a teacher-managed class without creating their own account, which keeps the signup process off the student entirely.
Can I have more than one Blooket account? Each email address is linked to one Blooket account. If you need a second account — for example, a teacher who wants to experience the student side for testing purposes — you need a second email address to register with.
How do I reset a forgotten Blooket password? On the login page, click Forgot Password and enter the email address associated with your account. Blooket sends a reset link to that address. If you signed up with Google, there is no Blooket-specific password — just use the Google sign-in button each time you log in.
Is Blooket safe for students to sign up for? Blooket collects basic information like username and email address. For students under 13, the recommended approach is teacher-managed class access rather than independent account creation, which limits what personal data is collected. For the most accurate detail on data handling, review Blooket’s privacy policy directly on their official website.
Can a teacher see student activity from before they joined the class? No. A teacher’s class reports only include activity from games that teacher hosted and where the student participated. Activity from other teachers’ sessions is not visible.
Conclusion
Signing up for a Blooket account is a short, straightforward process once you know which account type fits your situation. Students need an email or Google account, a username, and a game code to get started. Teachers need the same, plus a class setup and a question set ready before hosting their first session.
Go to blooket.com, click Sign Up, and select the account type that matches your role. Everything on the platform follows from that one decision.
Every great achievement starts with a single step; take that step by reading our handpicked advice.