Hosting your first Blooket game can feel confusing if you have never sat on the host side of the screen before. You pick a question set, click a button, and suddenly thirty browser tabs are asking what a join code is. This guide walks through every step of hosting a Blooket game, from account setup to picking the right mode, so your first session runs smoothly instead of stalling at the lobby screen.
What you need before hosting a Blooket game
You need three things to host: a Blooket account, a question set, and a way to share the join code with players. Nothing else is required, and you do not need players to create accounts to join most games. Once those three pieces are ready, hosting takes less than a minute to start.
Account types you can host with
A free Blooket account lets you host an unlimited number of games and create your own question sets. A paid Blooket Plus subscription adds extra game modes, more customization options, and higher player caps per session, but it is not required to host a basic game. Teachers managing a single classroom rarely need anything beyond the free tier.
When I tested both account levels back to back, the hosting flow itself was identical. The only differences showed up in which modes appeared on the selection screen and how many students could join at once. If you are hosting a small group of friends or a single class period, the free account covers everything you need.
Devices and connection requirements
You can host from a laptop, desktop, or tablet using any modern browser, and players can join from phones, tablets, or computers with no app download. The host device controls the question pacing and displays the join code, so a larger screen or projector helps when you are running the game for a room full of people. Players only need a stable internet connection and a screen big enough to read multiple choice answers.
In my classroom trials, a single shared Wi-Fi network handled twenty five connected devices without lag, as long as the network itself was reliable. If your school network throttles bandwidth during busy hours, test the connection with a handful of devices before relying on it for a full class session.
Preparing your room or space before launch
A successful hosted game depends on more than the software working correctly. Players need to see the join code clearly, hear instructions over background noise, and have a device within reach before the timer starts. Spend a minute arranging the room so every player has a clear line of sight to the shared screen.
If you are hosting outside a classroom, such as a family game night or a small group event, the same setup logic still applies. Make sure everyone has their device unlocked and the join page already open before you generate the code. This small step removes the most common source of delay at the start of a session.
Choosing between a quick game and a planned session
Some hosting situations call for speed, like filling five spare minutes at the end of a lesson with a quick review round. Others call for planning, like a unit review built around a scheduled session you have refined over several class periods. Decide which type of session you are running before you open the dashboard, since it changes how much setup time you should budget.
A quick game usually works fine with a public set and default settings, since the goal is engagement rather than precision. A planned session benefits from a custom set, adjusted timer, and a dry run beforehand to confirm question accuracy. Matching your prep time to the type of session you need keeps hosting efficient instead of rushed.
How to host a Blooket game step by step
Hosting a Blooket game takes five steps: log into your account, choose or import a question set, pick a game mode, configure the lobby settings, then start the game and share the join code. Each step takes seconds once you know where to click. Below is the exact sequence to follow from login to launch.
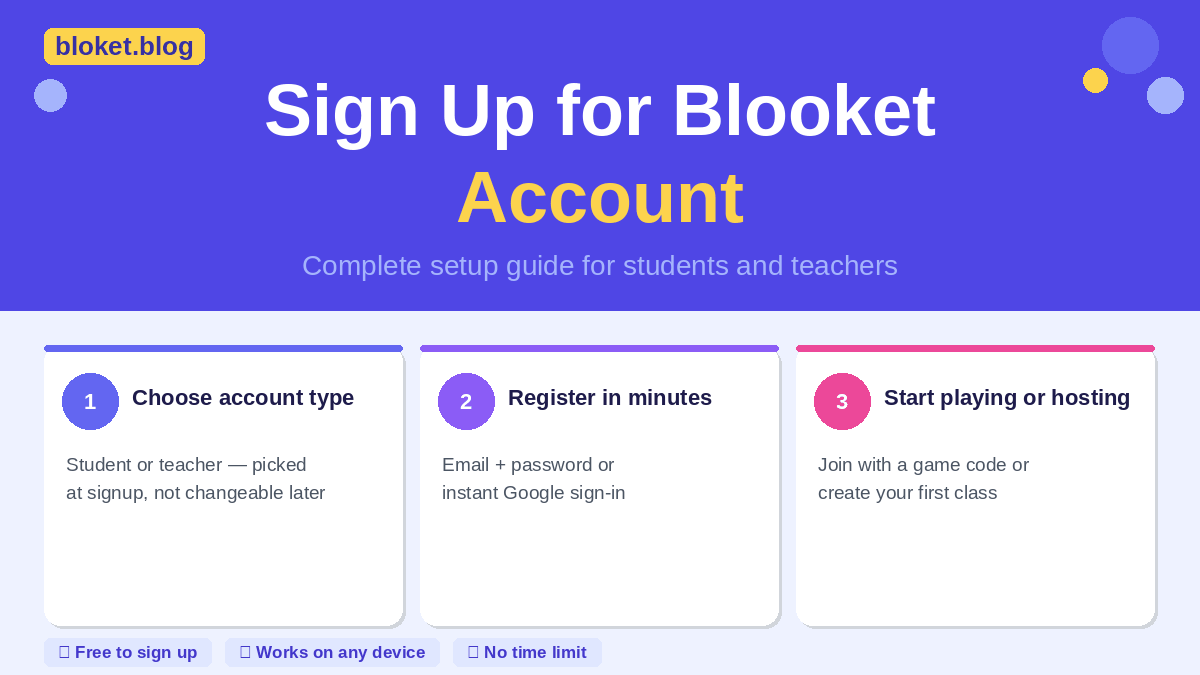
Step 1: Log into your host account
Open your Blooket account and sign in with your existing credentials. If this is your first time using the platform, create a free Blooket account using an email address or a supported single sign-on option. You only need to log in once per session, since the dashboard stays active until you close the browser tab.
Step 2: Choose or import a question set
From your dashboard, search the public set library for a topic that matches your lesson or game night, or build a custom set from scratch. You can also import questions from a spreadsheet if you already have content prepared elsewhere. Aim for at least fifteen to twenty questions so a full game round does not end too quickly.
Custom sets give you full control over difficulty and pacing, which matters most for classroom review sessions. Public sets save time when you need something ready immediately, though you should always preview the questions first to check for accuracy. I have found typos and outdated answers in a handful of public sets, so a quick scan before hosting avoids surprises mid-game.
Step 3: Pick a game mode
Click “Host” on your chosen set, then select a game mode from the list that appears. Modes change the visual style and scoring mechanics of the game, but every mode uses the same underlying question set. Pick a mode that matches your group size and the amount of time you have available.
A fast fifteen-minute review session works best with a simple, low-friction mode, while a longer class period can support modes with more strategy and economy elements. If players are new to Blooket, start with a straightforward mode so they learn the question flow before adding extra mechanics. You can always switch modes the next time you host the same set.
Step 4: Configure lobby settings
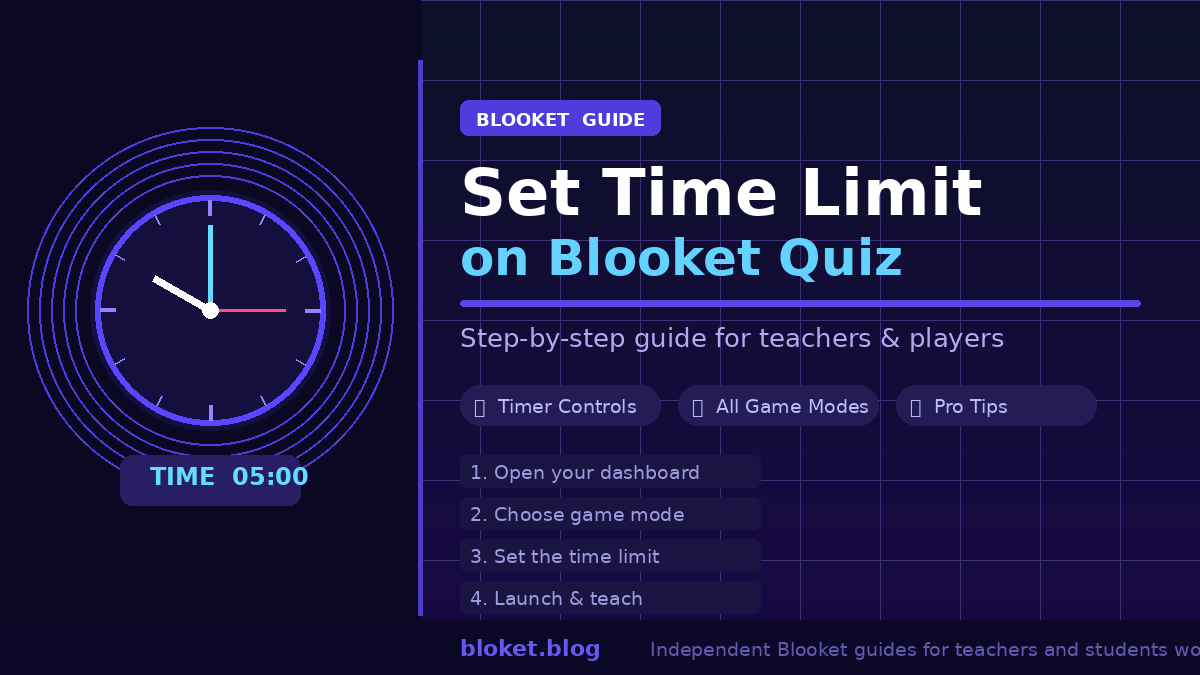
Before launching, review the settings panel for options like time per question, randomized question order, and whether players need a host-approved nickname. Turning on a nickname filter or moderation setting helps in classrooms where students might choose inappropriate usernames. Set the question timer based on reading difficulty rather than defaulting to the shortest option.
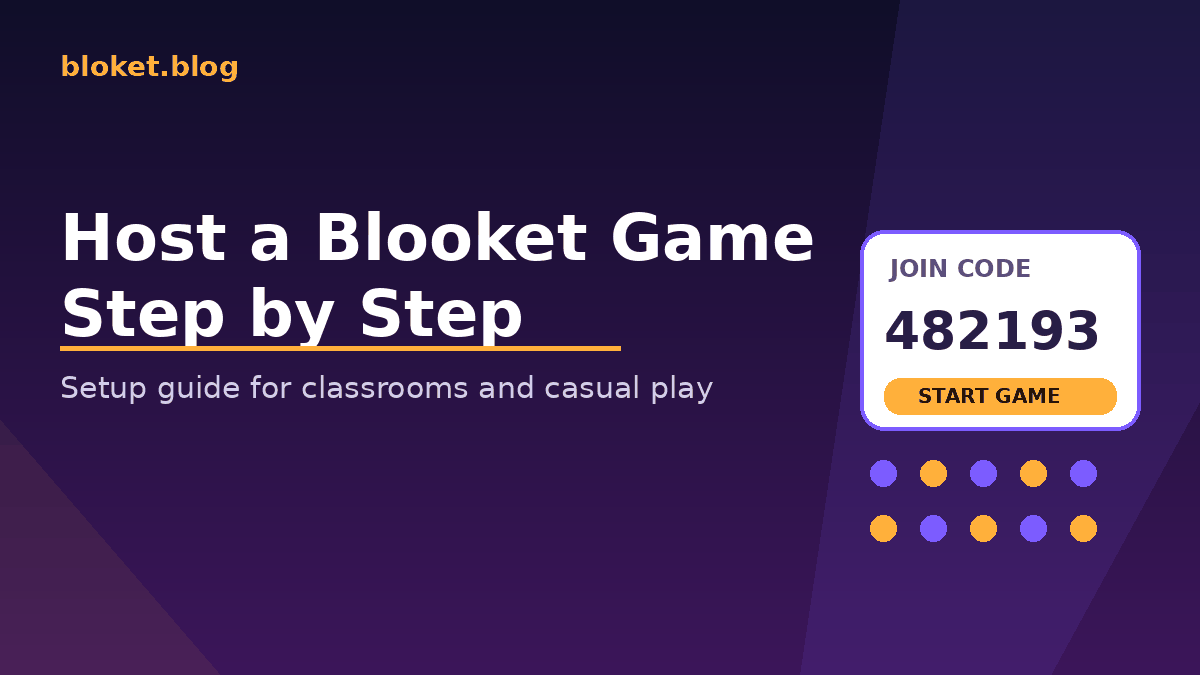
Step 5: Start the game and share the join code
Click the start or launch button to generate a unique join code, then display it on a shared screen or read it aloud. Players enter the code at the Blooket join page and type a nickname to enter the lobby. Once everyone you expect has joined, click the button to begin the first question round.
| Hosting step | What happens | Typical time needed |
|---|---|---|
| Log in | Access your dashboard and saved sets | Under 10 seconds |
| Choose a set | Search, import, or build questions | 1 to 5 minutes |
| Pick a mode | Select scoring and visual style | Under 30 seconds |
| Configure settings | Adjust timer, order, and moderation | 1 to 2 minutes |
| Start and share code | Launch lobby and display join code | Under 10 seconds |
Game modes, settings, and tips from real hosting sessions
Different Blooket modes change pacing and player engagement more than most hosts expect, so matching mode to audience matters as much as picking good questions. Some modes emphasize speed and accuracy, while others add resource management or player interaction layers on top of the trivia. The table above shows the setup timeline, but the choices you make during configuration shape how the actual game feels.
Matching a mode to your group
Younger students or first-time players respond best to modes with simple, clear feedback after every answer. Older students or repeat players tend to enjoy modes with strategic elements, since they already understand the base question flow and want more decision-making layered on top. When I ran the same question set through three different modes with the same group of students, engagement levels shifted noticeably based on how much strategy each mode introduced.
Adjusting settings for accuracy versus speed
If your goal is content review before a test, slow down the timer and disable randomization so every player sees questions in the same logical order. If your goal is energetic competition, shorten the timer and turn on randomization so no two players follow the same question path. Both approaches use identical questions, so the settings panel does most of the work in shaping the experience.
Reading the live host dashboard
While a game runs, the host dashboard shows real-time standings, current question number, and how many players have answered — and afterwards you can download the full Blooket results for review. Use this view to decide whether to extend the timer on a difficult question or move forward quickly on an easy one. Watching this dashboard during a session is the fastest way to learn how your specific group paces through a set.
Handling latecomers and dropped connections mid-game
Players occasionally lose connection or join after the round has already started, and how you handle this affects the overall experience more than most hosts expect. Most modes let a disconnected player rejoin using the same nickname without losing their place, as long as the game session is still active. Build a short pause into your hosting routine after launch so genuinely late players have a fair window to enter.
For longer sessions, consider announcing the join code twice, once at the start of the lobby and once right before launch. This habit alone solved most of the latecomer issues I ran into during multi-period classroom testing. It costs ten seconds and prevents frustration that can otherwise derail the first few minutes of a game.
Common hosting mistakes and how to avoid them
Most hosting problems come from rushing the setup steps rather than from the platform itself. The mistakes below show up repeatedly across classrooms and casual game nights, and each one has a simple fix.
Starting before everyone has joined
Launching the question round too early locks out late joiners and forces them to wait for the next game. Display the join code clearly and give players a short window to enter the lobby before starting. A visible player count on your screen tells you exactly when the room is ready.
Skipping the question set preview
Hosting a public set without reviewing it first risks running into outdated answers, unclear wording, or questions that do not match your intended difficulty. A two-minute scan through the question list before hosting catches almost every issue. This step matters even more for sets you plan to reuse across multiple sessions.
Choosing a mode that does not fit the time available
Picking a longer, strategy-heavy mode for a ten-minute warm-up activity leaves the game unfinished and players confused about results. Match the mode complexity to the time block you actually have, not the time block you wish you had. Shorter sessions favor simpler modes with faster scoring.
Ignoring the settings panel entirely
Hosting with default settings works fine occasionally, but defaults are not built for every group size or skill level. A class of younger students usually needs a longer timer than the default, while an advanced group might want a shorter one to keep pace tight. Spending one extra minute in the settings panel before launch improves the experience for everyone in the room.
Reusing the same mode every single session
Hosting the same mode repeatedly is convenient, but it also makes the activity feel repetitive for players who join your sessions regularly. Rotating between two or three modes keeps the same question content feeling fresh from one session to the next. This matters most in classrooms where the same group of students plays multiple times across a term.
FAQs
Do players need a Blooket account to join a hosted game? No, players can join most hosted games using only a join code and a nickname, without creating an account. An account is only required for the host and for players who want to save progress or build their own sets.
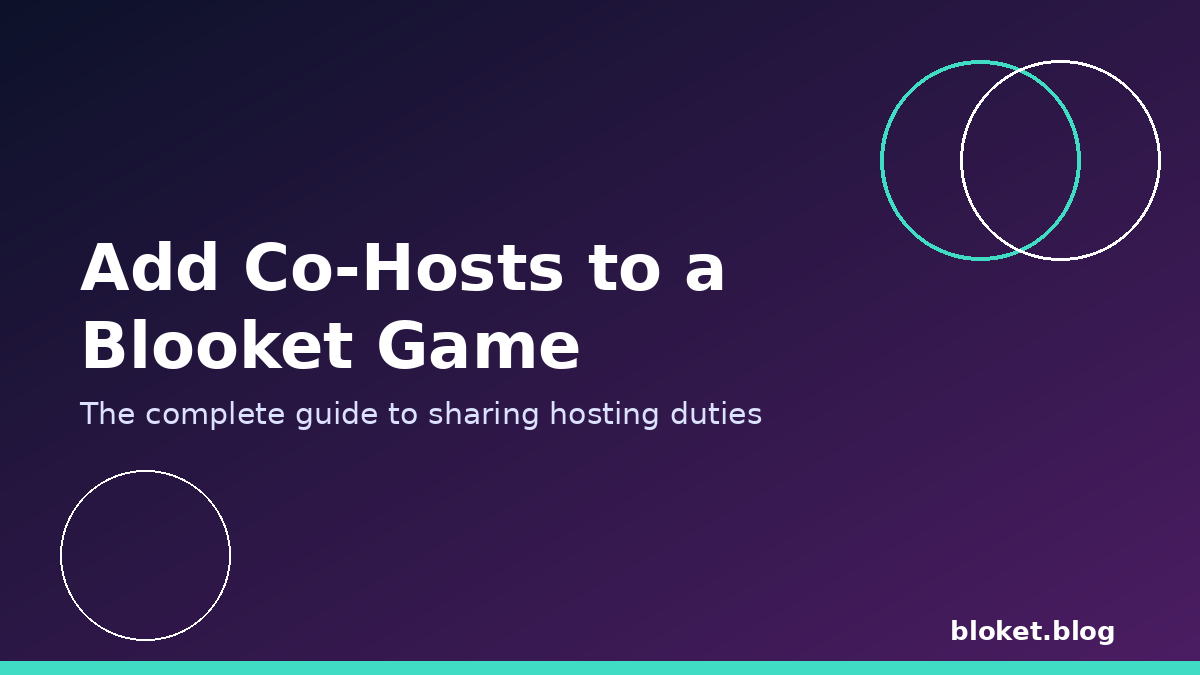
How many players can join a single hosted game? Player limits depend on your account tier and the specific mode you choose, with free accounts supporting smaller groups and paid tiers supporting larger ones. For bigger sessions, you can also add co-hosts to a Blooket game to share moderation. Check the lobby settings screen before hosting if you expect a large group.
Can I host the same question set more than once? Yes, question sets are saved to your dashboard and can be reused for unlimited future sessions. Reusing a set with a new mode often creates a different experience even though the questions stay the same.
What happens if the host disconnects during a game? If the host loses connection, the game session typically ends and players are returned to the join screen. Hosting from a stable, wired connection when possible reduces the risk of a mid-game disconnect.
Can I edit a question set after I have already hosted it once? Yes, you can return to your dashboard and edit any question set you created, including fixing typos or replacing outdated questions. Changes apply the next time you host that set, not retroactively to past sessions.
Is there a way to control how fast questions move during a hosted game? Yes, the lobby settings panel includes a timer control that sets how long players have to answer each question. Adjusting this before launch is the most direct way to control overall game pacing.
Do I need a projector or shared screen to host for a classroom? A shared screen is not strictly required, but it makes sharing the join code and watching live standings much easier for a room full of players. Reading the code aloud works as a backup if no shared display is available.
Conclusion
Hosting a Blooket game comes down to five repeatable steps: log in, pick a set, choose a mode, adjust the settings, and share the join code. Once you run through this sequence a few times, the whole process takes under five minutes from login to launch. Pick a question set you already trust, walk through the steps above, and host your next session with confidence.
Ready to level up? Explore our expert-driven articles for the answers you need.